


How I built Hashnode cards?
A walkthrough of the decisions I took, challenges faced and technologies I used while building Hashnode cards


This article includes a walkthrough of the decisions I took, challenges faced and technologies I used while building Hashnode Cards.
Introducing Hashnode Cards
 Hashnode Cards is a personalized card that you can showcase to the community that contains all your awesome achievements on Hashnode.
Demo
Important Links
- Hashnode Cards
- Hashnode Badges Scraper
- Hashnode Cards Analytics
- Github of Hashnode Cards
- Github of Hashnode Badges Scraper
Technologies Used
I have used Next.js with TailwindCSS for creating the UI of the Card and Homepage. Thanks to Lalit for helping me with UI.
html-to-image npm package to convert the HTML card to a png image.
Next.js Serverless Function sends the request to the Hashnode Graphql API and then sends the response with followers, following, impressions, and no. of posts.
Python requests and beautifulsoup4 library to scrap the badges from the Hashnode blogs of the user and custom domain from the Hashnode user page.
Then, I used FastAPI to create an API to send the scraped badges to the frontend. You can also use the same API to fetch the Hashnode badges.
Hashnode Badges Scraper API: hashnode-badge-scraper.herokuapp.com/docs
How I created Hashnode Cards?
UI
The concept of the Hashnode Cards sparked my imagination, and I began to wonder how the card might appear. I was having difficulty with the UI of this project, so I texted Lalit for assistance. We discussed my plan, and he was excited to help. He started by helping me design the user interface for the card, and then he helped to code the homepage.
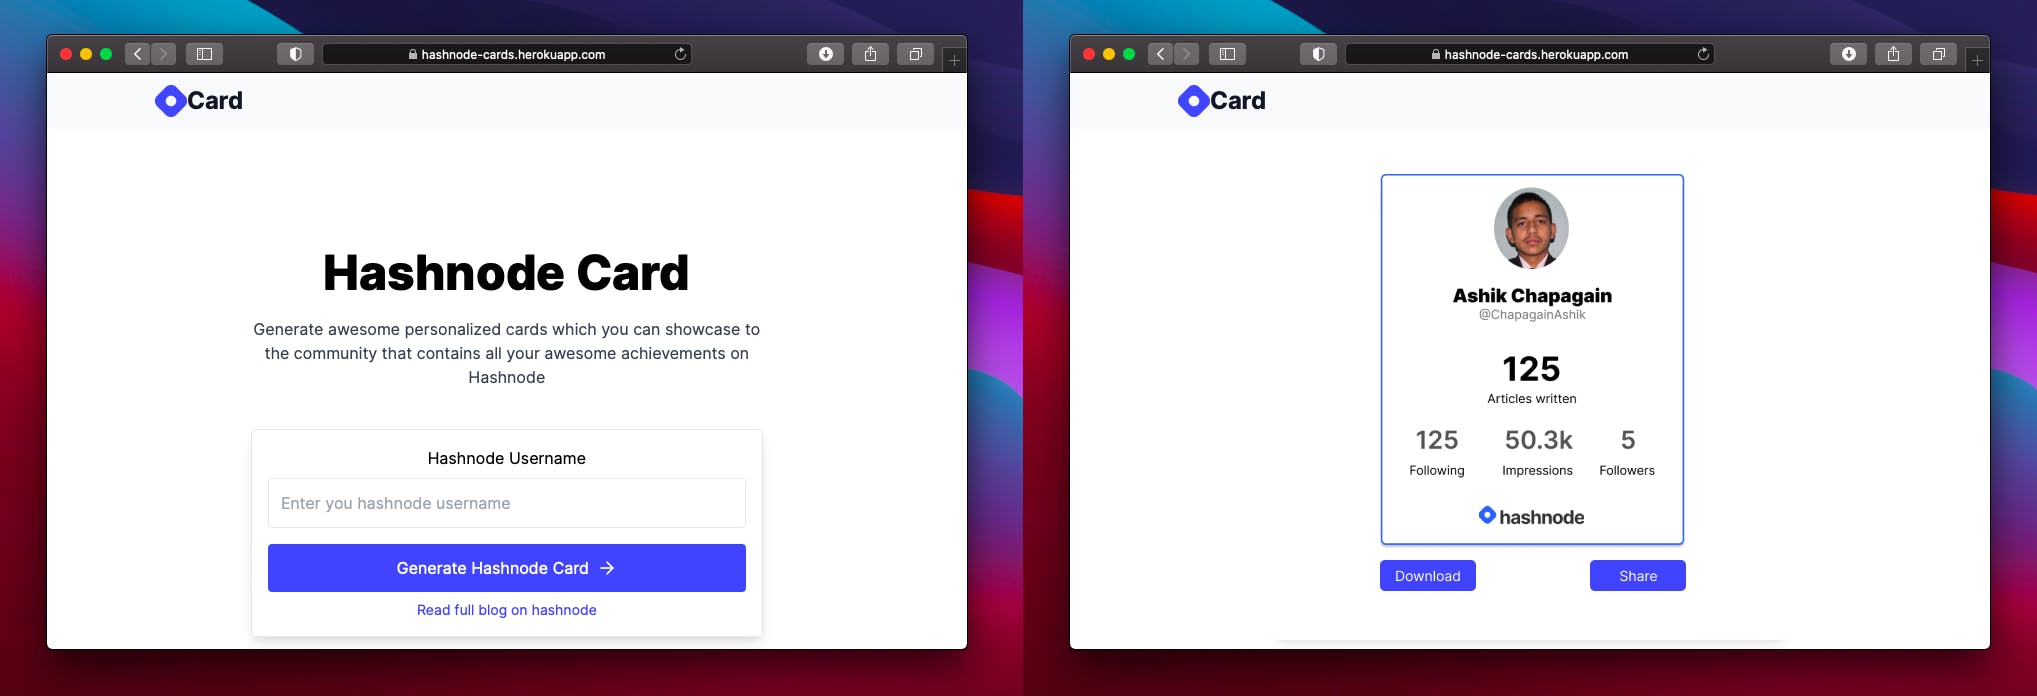
Then we have got the UI completed(without badges). Here's the first UI that we created.
After this UI was almost completed I started coding the whole site. After coding for around 3-4 hours, this was ready to get hosted. Then I hosted and shared it with Lalit and my brother. Then, my brother suggested I add badges too. But, the Hashnode API doesn't provide the badges. Since I had to scrap this, I put it off for a while and made an essay to publish to the Hashnode community.
Then the responses were quite interesting, many hashnoders started creating their Hashnode Cards.
Then, I thought of adding badges too, so I scraped the badges and created the API for getting those badges. Then, it was time for adding the badges in the UI, so, once again I take help from Lalit and we came with two designs.
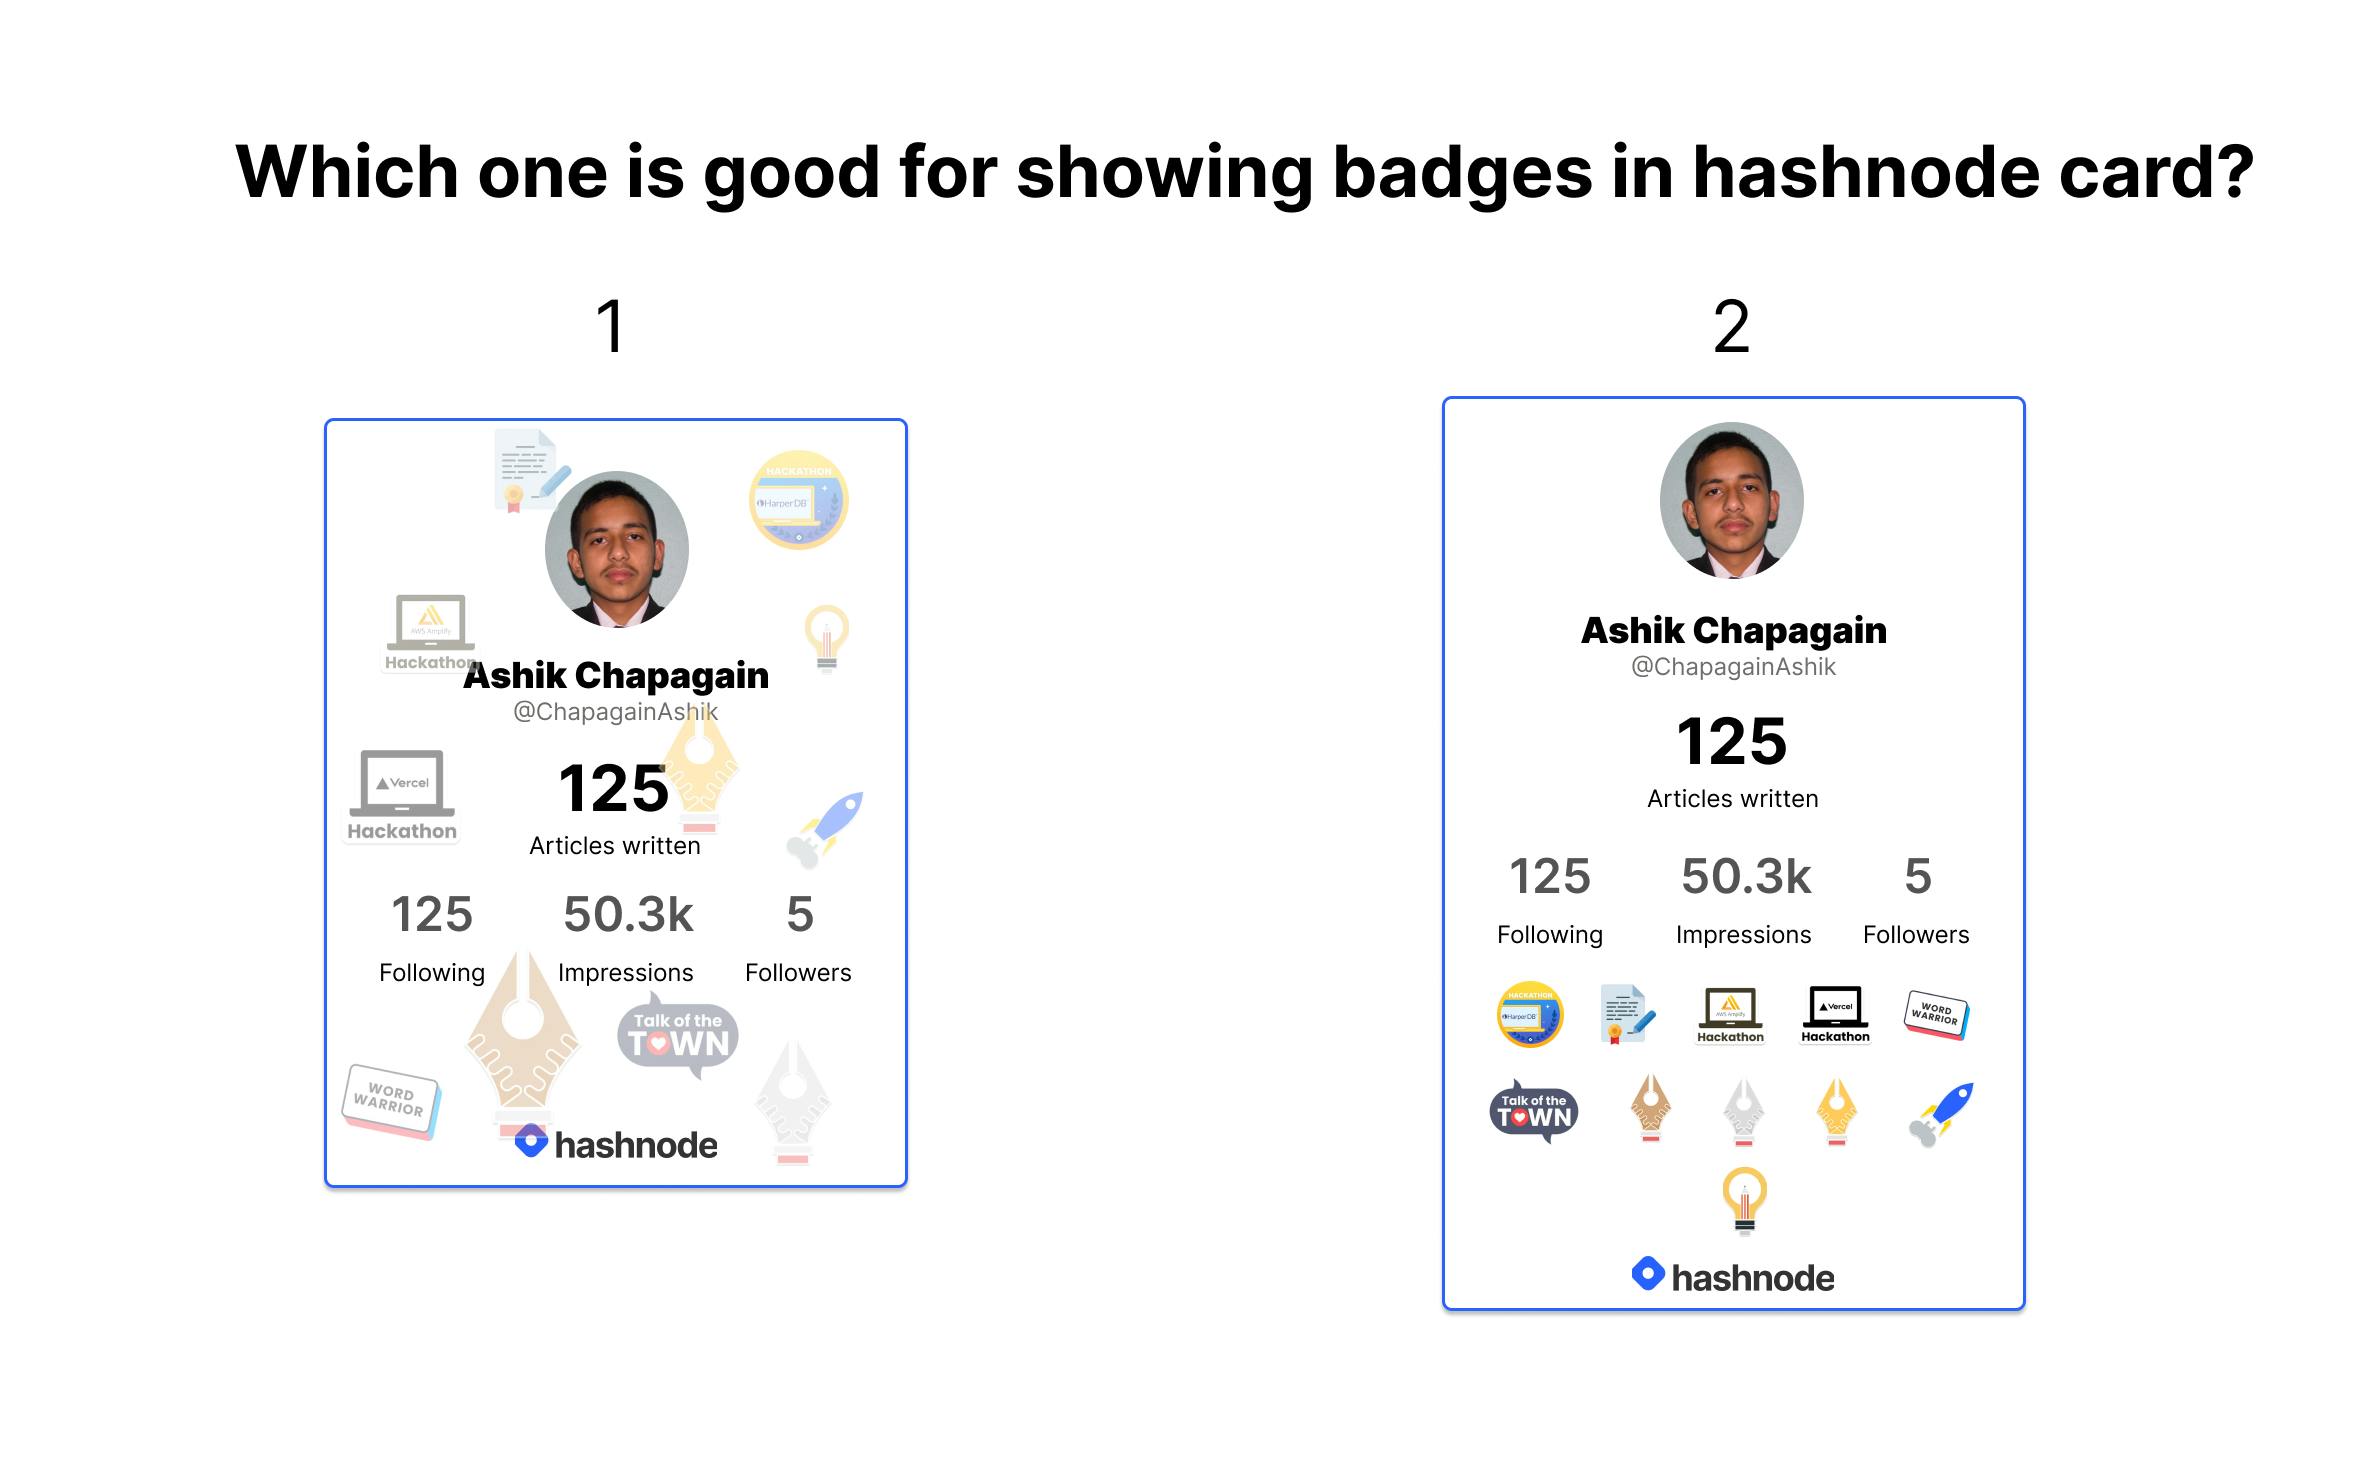
After asking the hashnoders, to vote for one of those designs, the second one got the most vote. So, I coded the second UI for adding badges to the card.
While writing this blog, I was able to add support for custom domains with scraping. Thanks to Victoria Lo and Simona Winnekes who requested this feature.
Datas
- Followers, Followings, Impressions, No. of Posts, Name, Photo:
For the follower, following, impressions, name, and photo, I used
Hashnode API. These data were easily available in theHashnode API, so I didn't have to do much effort.
const apiData = await apiRes.json();
if (apiData.data) {
  if (apiData.data.user) {
    following = apiData.data.user.numFollowing;
    followers = apiData.data.user.numFollowers;
    impressions = apiData.data.user.numReactions;
    photo = apiData.data.user.photo;
    name = apiData.data.user.name;
  }
}
But no. of posts wasn't available in the Hashnode API. But the posts posted by the user were available in the API, but just 6 posts can be synced at once. So, I created an infinity loop that will send the response to the Hash node API until all posts were fetched, and while fetching the posts, the number of posts fetched at that time were added in a variable, and later that variable was returned.
loadMoreData = true;
while (loadMoreData) {
  const postsRes = await fetch('https://api.hashnode.com', {
    method: 'POST',
    headers: {
      'Content-Type': 'application/json',
    },
    body: JSON.stringify({
      query: `query($username: String!, $page: Int) {
              user(username: $username) {
                publication {
                  posts(page: $page
                  ) {
                    title
                    _id
                  }
                }
              }
            }
            `,
      variables: {
        username,
        page: i,
      },
    }),
  });
  const postsJson = await postsRes.json();
  if (postsJson.data) {
    if (postsJson.data.user) {
      if (postsJson.data.user.publication.posts.length > 0) {
        postsCount += postsJson.data.user.publication.posts.length;
        console.log(postsCount);
        i++;
      } else {
        loadMoreData = false;
      }
    }
  }
}
- Badges and Custom domain:
For fetching the badges and custom domain, I have used
beautifulsoup4andrequestspython library to scrape the data from the Hashnode and usedFastAPIto create an API that returns the scraped data. For badges,
def scrap_data(blog_handle):
  badges = []
  print("Scraping Data for " + blog_handle)
  hashnode_url = "https://" + blog_handle + ".hashnode.dev/badges"
  request = requests.get(hashnode_url)
  soup = BeautifulSoup(request.content, 'html.parser')
  badges = soup.find_all('div', {'class':"css-1hzbns5"})
  for badge in badges:
    name = badge.find('h1', {'class': "css-1h3au74"}).text
    img = badge.find('img', {'alt': name})
    svg = badge.find('svg')

    def returnLogo():
      if(img):
        return img['src']
      else:
        return str(svg)

    def checktype():
      if(img):
        return 'img'
      else:
        return 'svg'
    badge_detail = {
      'logo': returnLogo(),
      'name': name,
      'type': checktype()
    }
    badges.append(badge_detail)

  return badges
If you look at the code carefully, I have used the blog handle as the subdomain for the blog of the user. This blog handle is fetched from Hashnode API using the user's username.
def get_blog_handle(username):
  hashnode_query = """query($username: String!) {
      user(username: $username) {
        blogHandle,
      }
    }"""

  hashnode_variables = {
    'username': username
  }
  request = requests.post('https://api.hashnode.com', json={'query': hashnode_query, 'variables': hashnode_variables})
  user_data = request.json()
  if(user_data['data']):
    return user_data['data']['user']['blogHandle']
After these, I added the code to fetch the custom domain if user has got one.
def scrap_url(username):
  print("Scraping url for " + username)
  hashnode_url = "https://hashnode.com/@"+ username
  request = requests.get(hashnode_url)
  soup = BeautifulSoup(request.content, 'html.parser')
  url = soup.find("a", {'class': "block mb-3 text-xl font-bold truncate text-brand-grey-800 dark:text-brand-grey-100"})
  return url.string
After scraping all these required data, I returned them using FastAPI.
class UsernameBody(BaseModel):
  username: str

@app.post('/')
def index(body: UsernameBody):
  blog_handle = get_blog_handle(body.username)
  if(blog_handle != None):
    return {
      'domain': scrap_url(body.username),
      'badges': scrap_data(blog_handle)
    }
  else:
    return {"error": "Username doesn't exists."}
If you want you can also use this API, by sending a POST request to https://hashnode-badge-scraper.herokuapp.com.
After the data was collected, it was time to fetch it on the frontend.
useEffect(() => {
  const fetchBadges = async () => {
    const response = await fetch(
      'https://hashnode-badge-scraper.herokuapp.com',
      {
        method: 'POST',
        headers: {
          'Content-Type': 'application/json',
        },
        body: JSON.stringify({
          username: username,
        }),
      }
    );
    const responseJson = await response.json();
    if (responseJson.badges) {
      setBadges(responseJson.badges);
      setURL(responseJson.domain);
      console.log('Badges Loaded');
    } else {
      console.log('Badges not Loaded');
    }
  };
  const fetchData = async () => {
    const apiRes = await fetch('/api/hashnode', {
      method: 'POST',
      headers: {
        'Content-Type': 'application/json',
      },
      body: JSON.stringify({ username: username }),
    });
    const apiJson = await apiRes.json();
    if (apiJson.name) {
      setLoading(false);
      setUser(apiJson);
    }
  };
  if (!user.name) {
    fetchData();
  }
  if (badges.length === 0) {
    fetchBadges();
  }
});
- HTML to image:
For converting the HTML to image, first I used
html2canvaspackage. But some of the css properties were not supported in it. So, I later usedhtml-to-imagepackage which was very easy to use.
toPng(ref.current).then((dataUrl) => {
  // code here
});
- Share Card
For sharing the image, I have uploaded it to
https://imgbb.comusing its simple-to-use API. For this, first I converted the HTML to png usinghtml-to-imagepackage and parse the base64 data of the image, and then uploaded it toimgbb.
const onShare = async () => {
  if (ref.current === null) {
    return;
  }
  let base64Image: string = '';
  toPng(ref.current).then((dataUrl) => {
    base64Image = dataUrl.slice(22);
    console.log(base64Image);
    const formData = new FormData();
    // @ts-ignore
    const key: string = process.env.NEXT_PUBLIC_IMGBB_STORAGE_KEY;
    formData.append('image', base64Image);
    formData.append('name', username);
    formData.append('key', key);
    const upload = axios
      .post('https://api.imgbb.com/1/upload', formData)
      .then((data) => {
        navigator.clipboard.writeText(data.data.data.url);
        setImgLink(data.data.data.url);
      });
    // @ts-ignore
    toast.promise(upload, {
      loading: 'Creating Shareable Image...',
      success: 'Image URL copied to clipboard',
      error: 'Error Creating Shareable Image',
    });
  });
};
- Download Card:
For downloading image, first I converted HTML to image and create
atag with hrefdataURLof image and automatically click on it.
const downloadImage = async () => {
  if (ref.current === null) {
    return;
  }
  toPng(ref.current, { cacheBust: true })
    .then((dataUrl) => {
      const link = document.createElement('a');
      link.download = username + '.png';
      link.href = dataUrl;
      link.click();
    })
    .catch((err) => {
      console.log(err);
    });
};
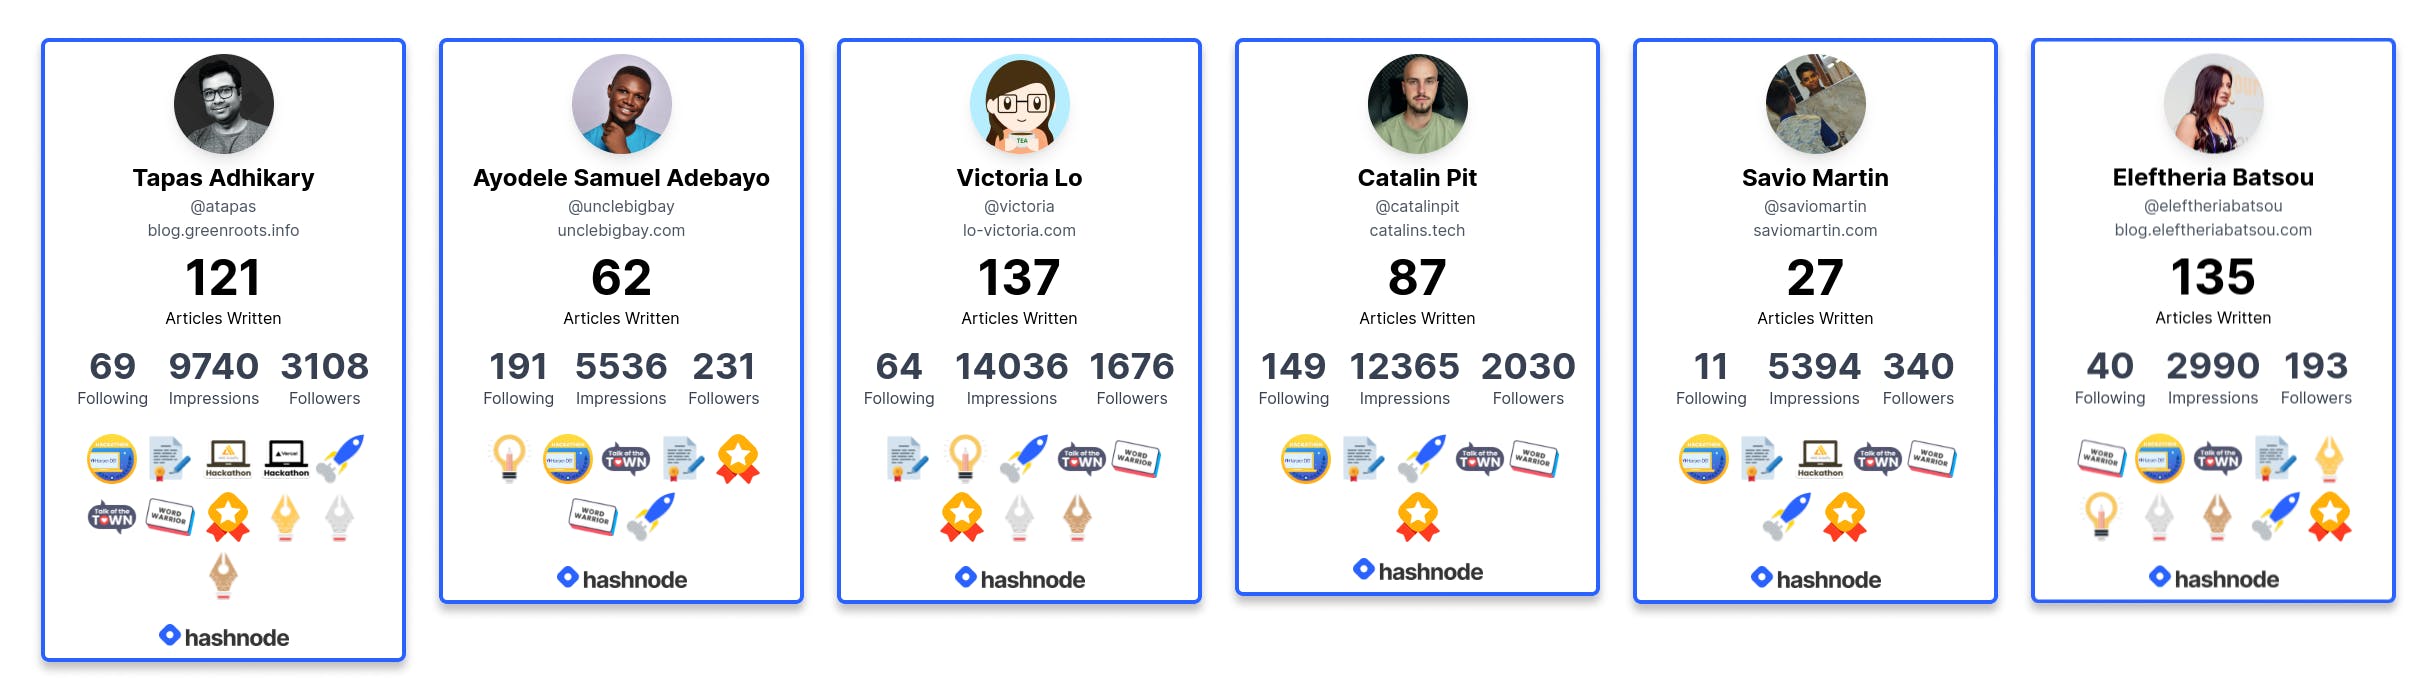
Thank you
Thanks everyone including Tapas Adhikary, Victoria Lo, Mr.Unity Buddy, Ayodele Samuel Adebayo, Simona Winnekes, Usman Sabuwala, DesignerAnna1, Matej Bošnjak, Orangemn6, Anish De, Avneesh Agarwal, Academic for using Hashnode Cards.
Conclusion
It was thrilling to work on this project and I gained much knowledge. Hope you guys like this article.
Connect with me: